
Before You Begin
To set up the Moodle LTI for Zoom, you will need the following permissions and information:
1: Administrator accounts for Zoom and Moodle. (NOTE: Zoom account must be a Pro/Education/Business account as they contain the REST API feature required for integration functionality. A Zoom Basic account will not work).
2: Your Moodle URL.
3: Moodle Core Service Token (see below for how to obtain it).
How to obtain your Moodle Core Service Token
Add an External Service:
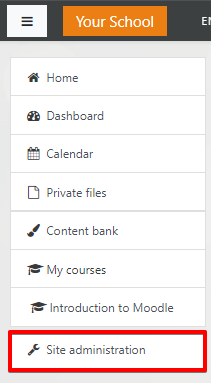
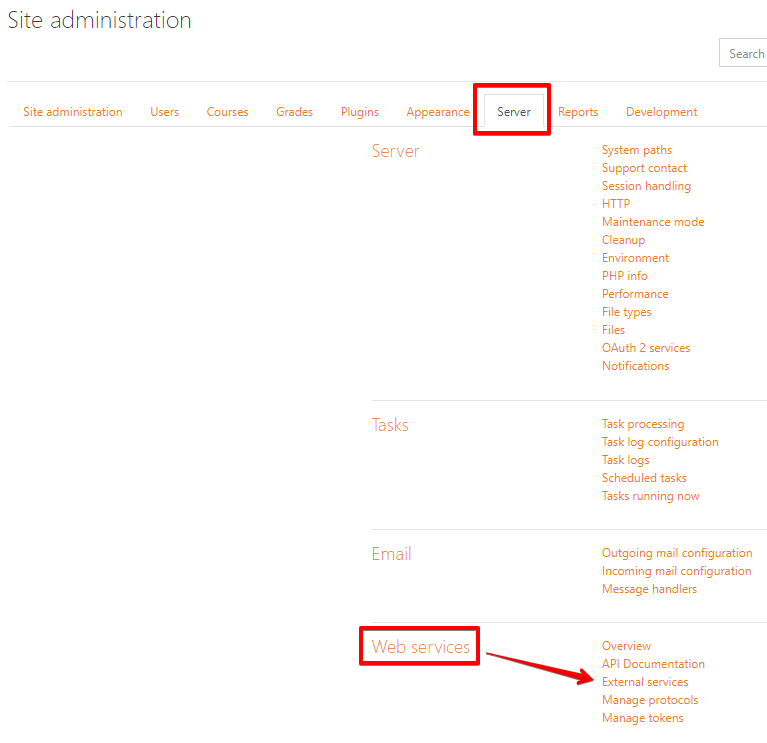
Navigate to Site administration -> Server-> Web Services -> External Services (in older versions of Moodle, Site administration -> Plugins -> Web services -> External Services)
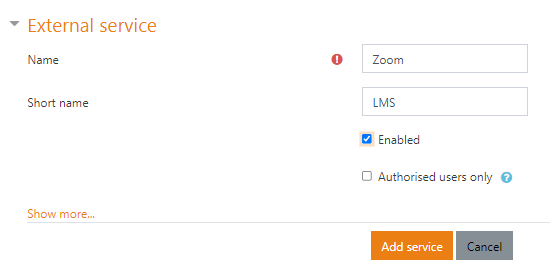
Click on the ‘Add’ link on the bottom left and fill in the following fields on the next screen:
- Name: Zoom
- Short name: LMS
- Ensure that Enabled is checked, and then click Add service to complete.
On the next screen, click on the ‘Add functions’ link
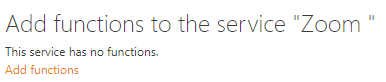
In the search field, search for the following function: ‘core_enrol_get_enrolled_users,’ and then click on it until it’s added as a blue box next to ‘Name’ (see screenshot below):
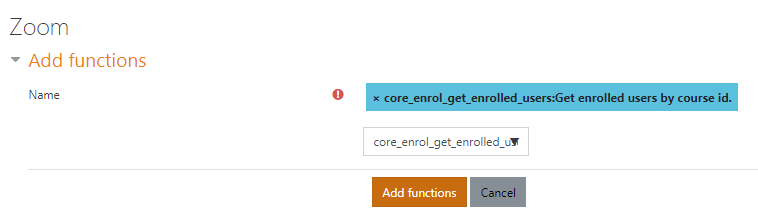
Complete by clicking on the ‘Add functions’ button. The function should appear as below:

*** Note: View may differ dependent on Moodle version, however, functionality is the same
Creating a Token:
Navigate to Site Administration > Server > Web Services > Manage Tokens (or Site Administration > Plugins > Web Services > Manage Tokens in older versions of Moodle)

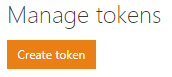
Click on ‘Create Token’:
Fill in the following fields:
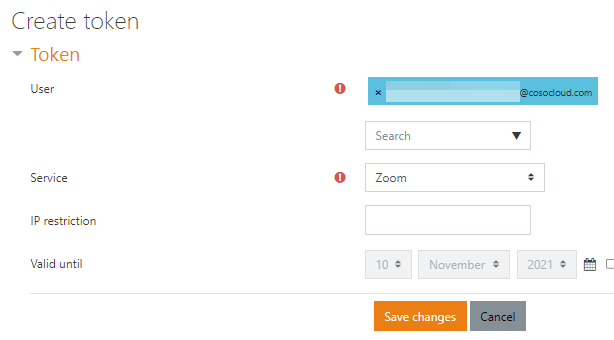
- User: Use the Search field to select a user who is a System Administrator and then click on the user, so they appear in the blue box (as per screenshot)
- Service: Click the drop-down and choose Zoom.
- IP restriction: Leave blank.
- Valid until: Leave unchecked.
Click on Save changes to complete. You’ll now see your token in the list:

Copy and save the token (paste in a notepad, word document, or text file), as you will require it to complete the installation from the Zoom Marketplace.
Installation from Zoom Marketplace
Login to the Zoom Marketplace with your Administrator account at https://marketplace.zoom.us/apps/TvvF_eSrSJi1yfEJrHMjBA
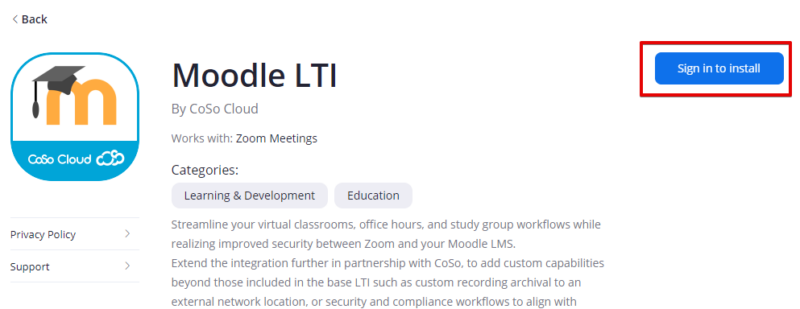
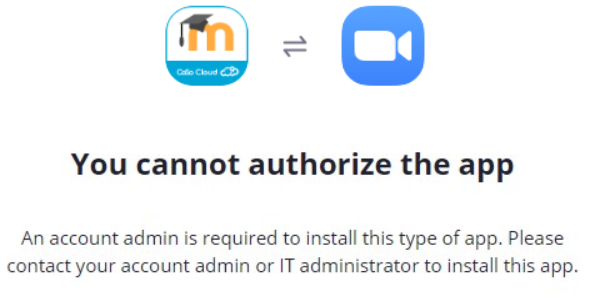
*** Note: You must have a Zoom Pro/Business/or Educational account. If not, you will see the following message:
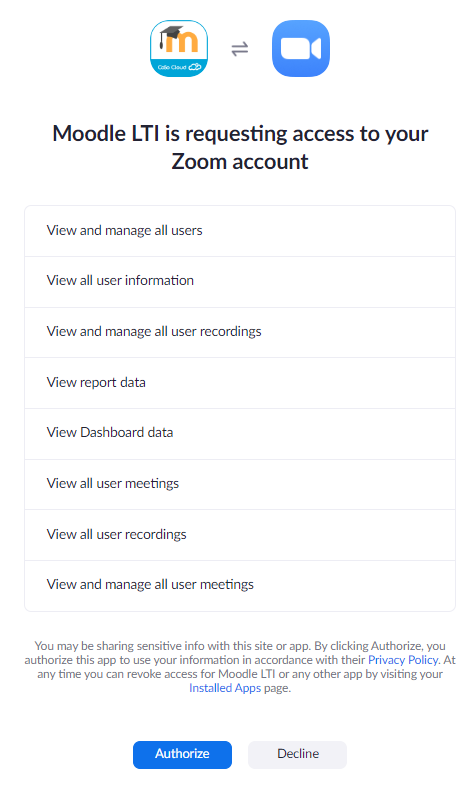
Click Install for the Moodle LTI in the Zoom Marketplace. Read through the access notification shown below, and click Authorize.
Create your CoSo Cloud LTI Admin account
Fill in the following form:
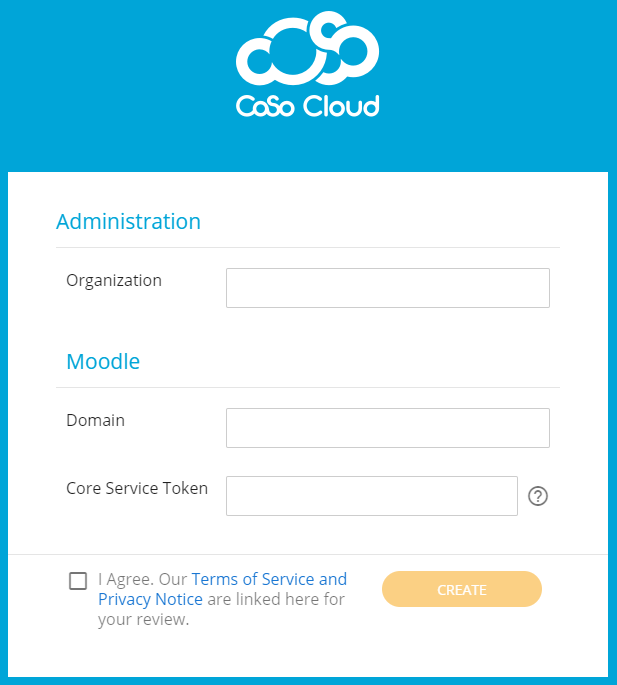
Administration section:
- Moodle/Organization: Your company/organization name.
Moodle section:
- Domain: Your Moodle domain.
- Core Service Token: Your Moodle Token from the steps above.
Please take the time to read the Terms of Service and Privacy Policy and check the I Agree checkbox.
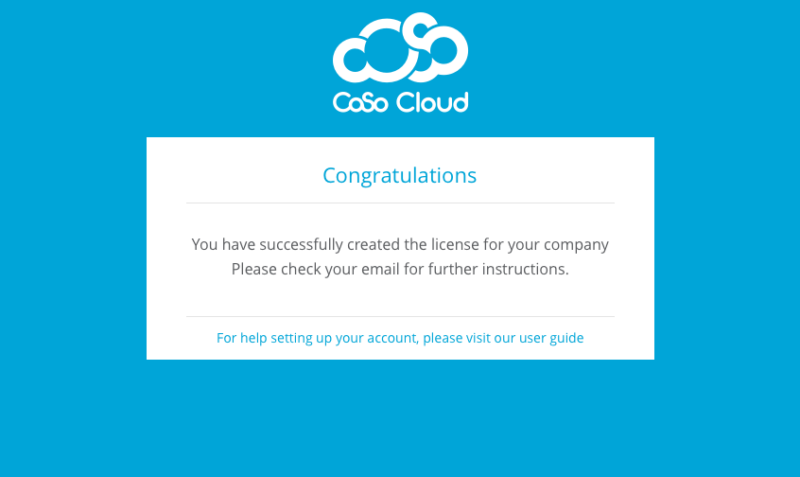
Click Create. You will be redirected to the following screen:
Next Steps
You will receive an email from CoSo informing you that your LTI Admin account has been created:
In the email, click the Confirm Account button to activate your CoSo account and log in to the CoSo Zoom LTI Admin Tool.
You’ll receive a second email stating your account has been successfully activated.
Click on Account Settings to log in to the CoSo Zoom LTI Admin Tool.
In the LTI Admin Tool, you can:
1: See your Moodle License.
2: See and copy your Consumer Key and Shared Secret
- Copy the Consumer Key and Shared Secret and put them aside.
- Copy the following ‘Tool Base URL’ and put it aside (paste in a notepad, word document or text file) as you will need it later to install the LTI into Moodle: https://zoom.cosocloud.com/lti/moodle-login
** Note: The tool-base URL is strictly used for configuration purposes. There is no active site if you try to access it from a browser.
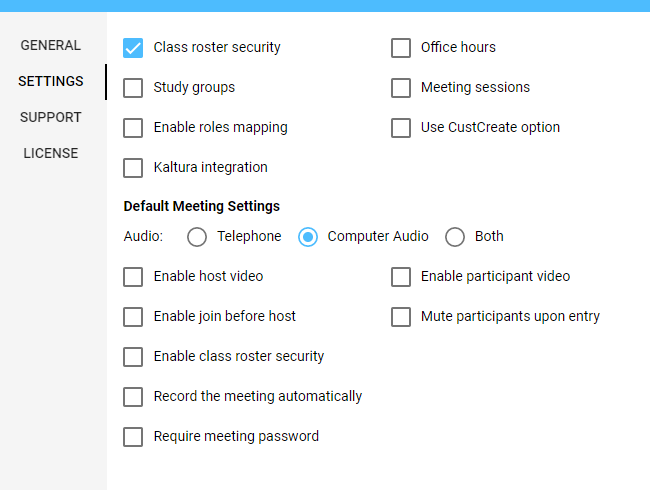
You can also enable and disable LTI settings such as Secure Roster, Study Groups, and Office Hours:
You can also create other non-admin users:
Installing the LTI in Moodle
- Log back into Moodle
- Navigate to Site administration -> Plugins -> Activity modules -> External Tools -> Manage Tools
- Click ‘Configure A Tool Manually’
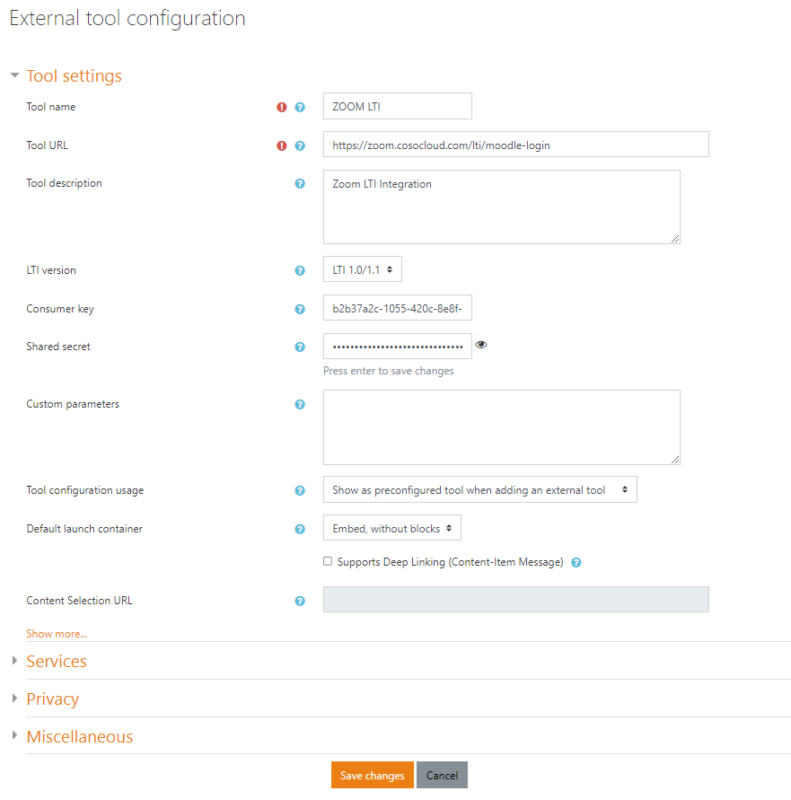
- Tool name: Zoom LTI (or something similar).
- Tool base URL: https://zoom.cosocloud.com/lti/moodle-login
- Consumer Key: In the steps above, the Consumer Key from the Zoom LTI admin.
- Shared Secret: Shared Secret from the Zoom LTI admin in the steps above.
- Leave everything else as is
- Click Save changes to finish the process.
NOTE: The Zoom LTI must be launched for the first time by a user who has admin permissions in your Moodle instance.
Adding the Zoom LTI to a Course in Moodle
Within a course, click the ‘Turn editing on’ button

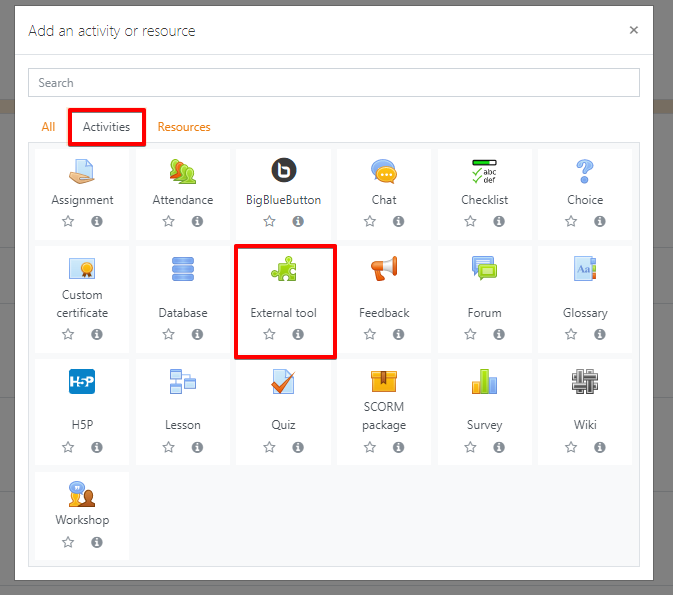
Then click on the ‘Add an activity or resource’ link

Select the ‘Activities’ tab and then select and click the External tool option
- Enter an Activity name (Zoom LTI or something similar).
- For the External tool type/Reconfigured tool, choose the Zoom LTI created in the previous steps.
- Click Save and return to the course.
As an Admin user, launch the Zoom LTI.
** Note: if the Admin user does not already have a Zoom account, one will be created for them. They would then see an email stating as such. Please follow the steps in the email to activate the Zoom account.